Navigating the Administrator Module
1. Log in to the Administrator module.
If this is your first login, select Claim OTP and proceed to complete the required steps.
2. Adding new users and editing existing users.
On the sidebar menu select the Members icon

You will be displayed a full list of users - All, Active, Inactive, Disabled.

Select the Edit button to make changes to a particular user account.

You will be taken to the selected user’s account.
The information displayed is Name, E-mail Address, Role, Status, Access Plans, and Learning Journey completion.
To delete an existing Access Plan, press the Delete button on the plan plaque. To add a new access plan for the particular user, press Add Plan

From the pop-up menu select the desired Learning Space and access plan.

The newly selected access plan will then be displayed in the user account.

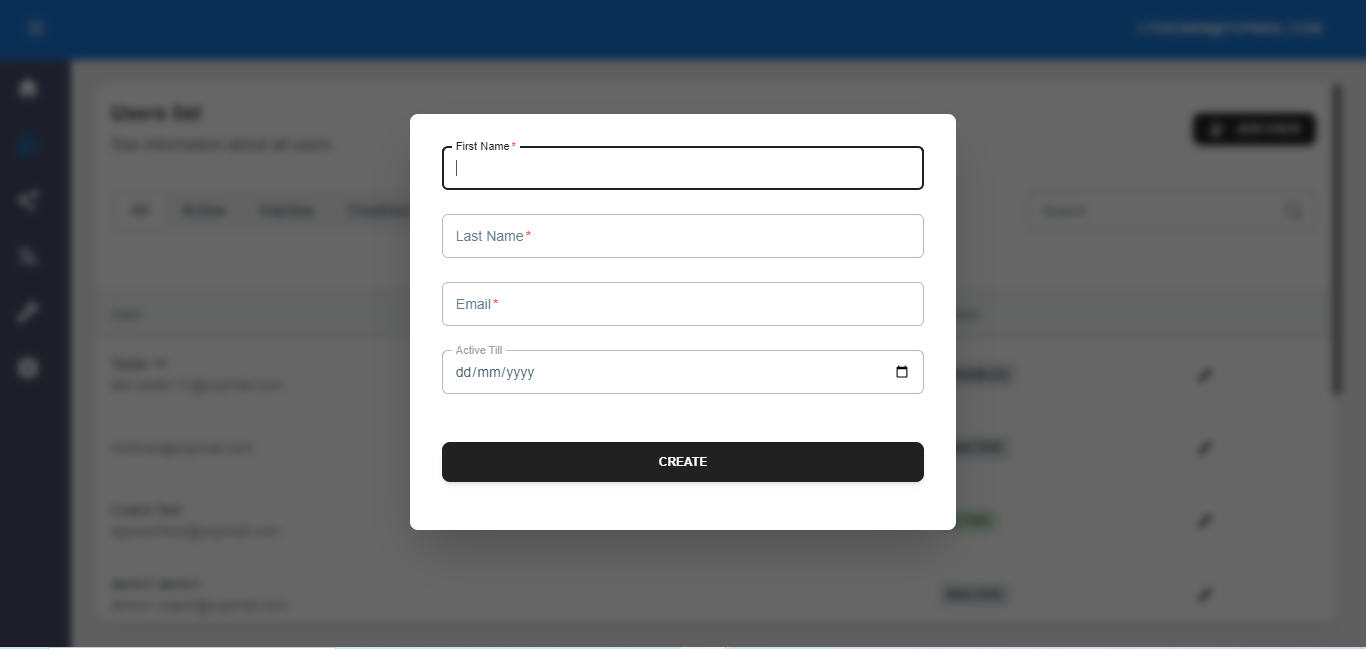
To add a new User, click on the Add User button.
 In the pop-up menu, fill in the First Name, Last Name, Email, and Active Till fields, the click Create.
3. Making changes to existing Learning Spaces and creating new learning spaces.
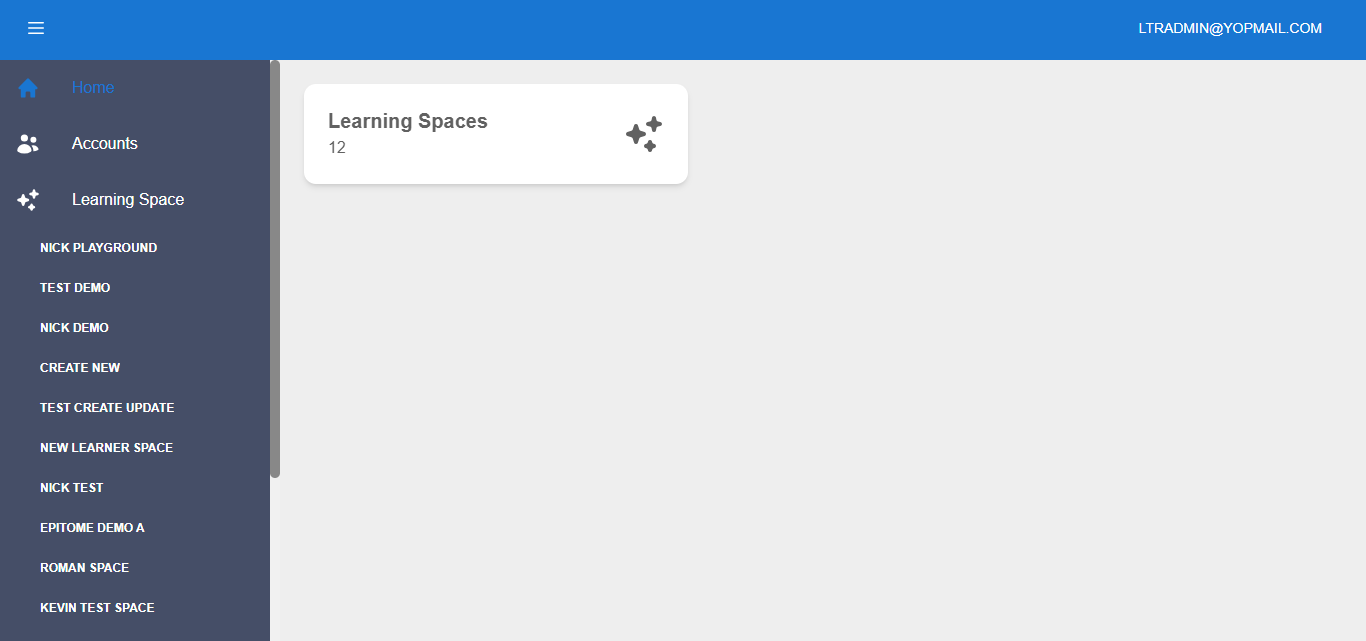
Go to the Home page and select the Learning Spaces icon on the left to make changes to existing learning spaces.

Select a learning space from the drop-down menu. You will then be taken to the selected learning space page.
Press Add Access Plan to add a new plan to the selected Learning Space.
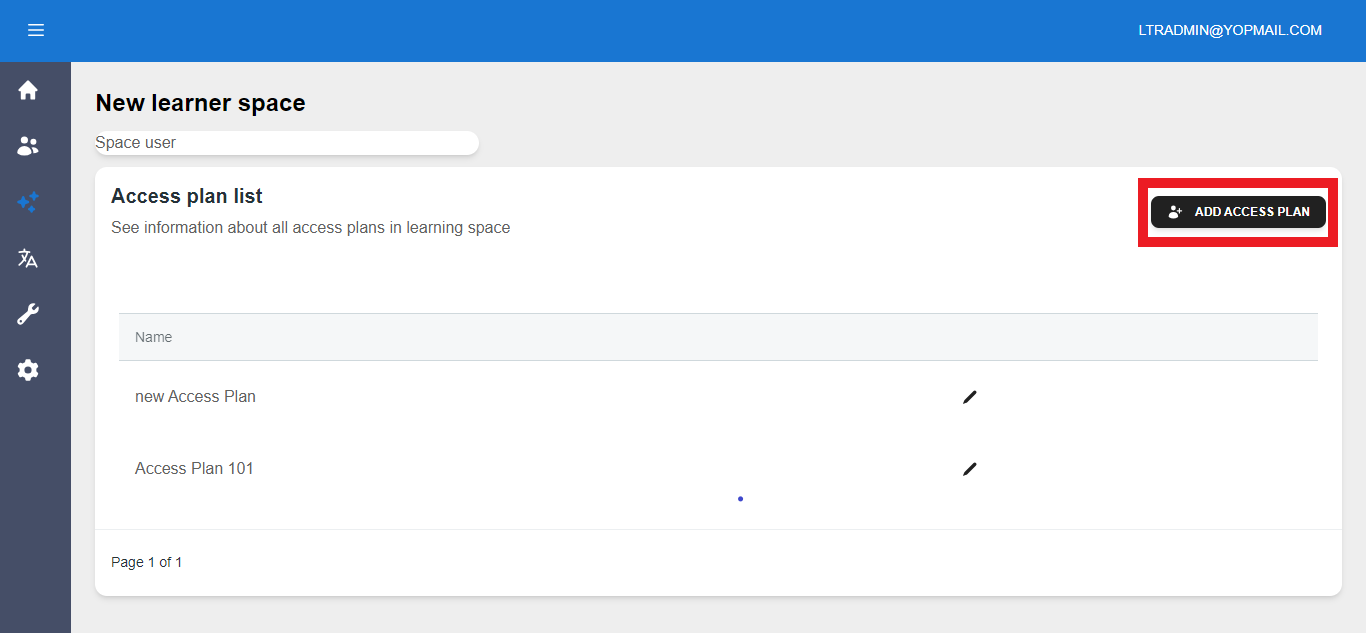
In the pop-up menu, type in the desired Access Plan name and press Create.

To create a new learning space, go to the Learning Spaces menu and press Add Space.

In the pop-up menu, type in your new leaning space’s name and press Create.

Your new leaning space will now appear in the Learning Spaces menu.

Was this article helpful?
That’s Great!
Thank you for your feedback
Sorry! We couldn't be helpful
Thank you for your feedback
Feedback sent
We appreciate your effort and will try to fix the article